How to install or replace your wireless 4K Whole Home PVR
Bluetooth® Slim
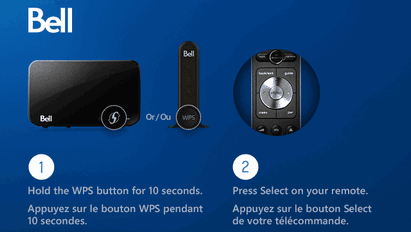
Steps to follow: 6
Steps to follow: 6

Images may not be exactly as shown.
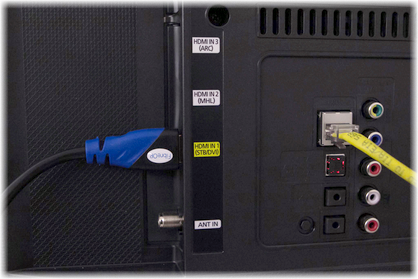
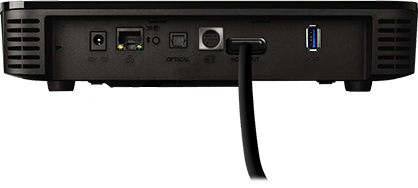
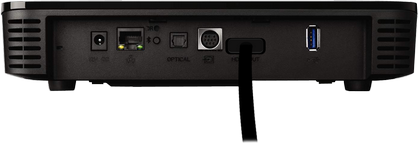
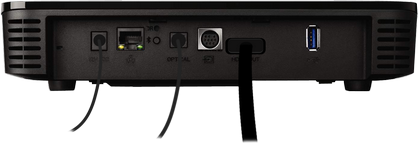
If an Ethernet cable is connected to the back of your existing receiver, you may reuse this cable to set up your 4 K Whole Home PVR with a wired connection. If you prefer a wireless connection, do not connect the Ethernet cable.
After completing these steps, proceed to one of the following tutorials:
Tip: Check the instructions in your self-install kit(if applicable) to find out which equipment you need to pair your receiver with.
If youʼre not able to set up the device after following these steps, please contact us.

Thank you. We have received your response.
In our ongoing efforts to improve our support section, your opinion is invaluable.
Please let us know what we did well or what we can improve about this article
If you require assistance, please Contact us